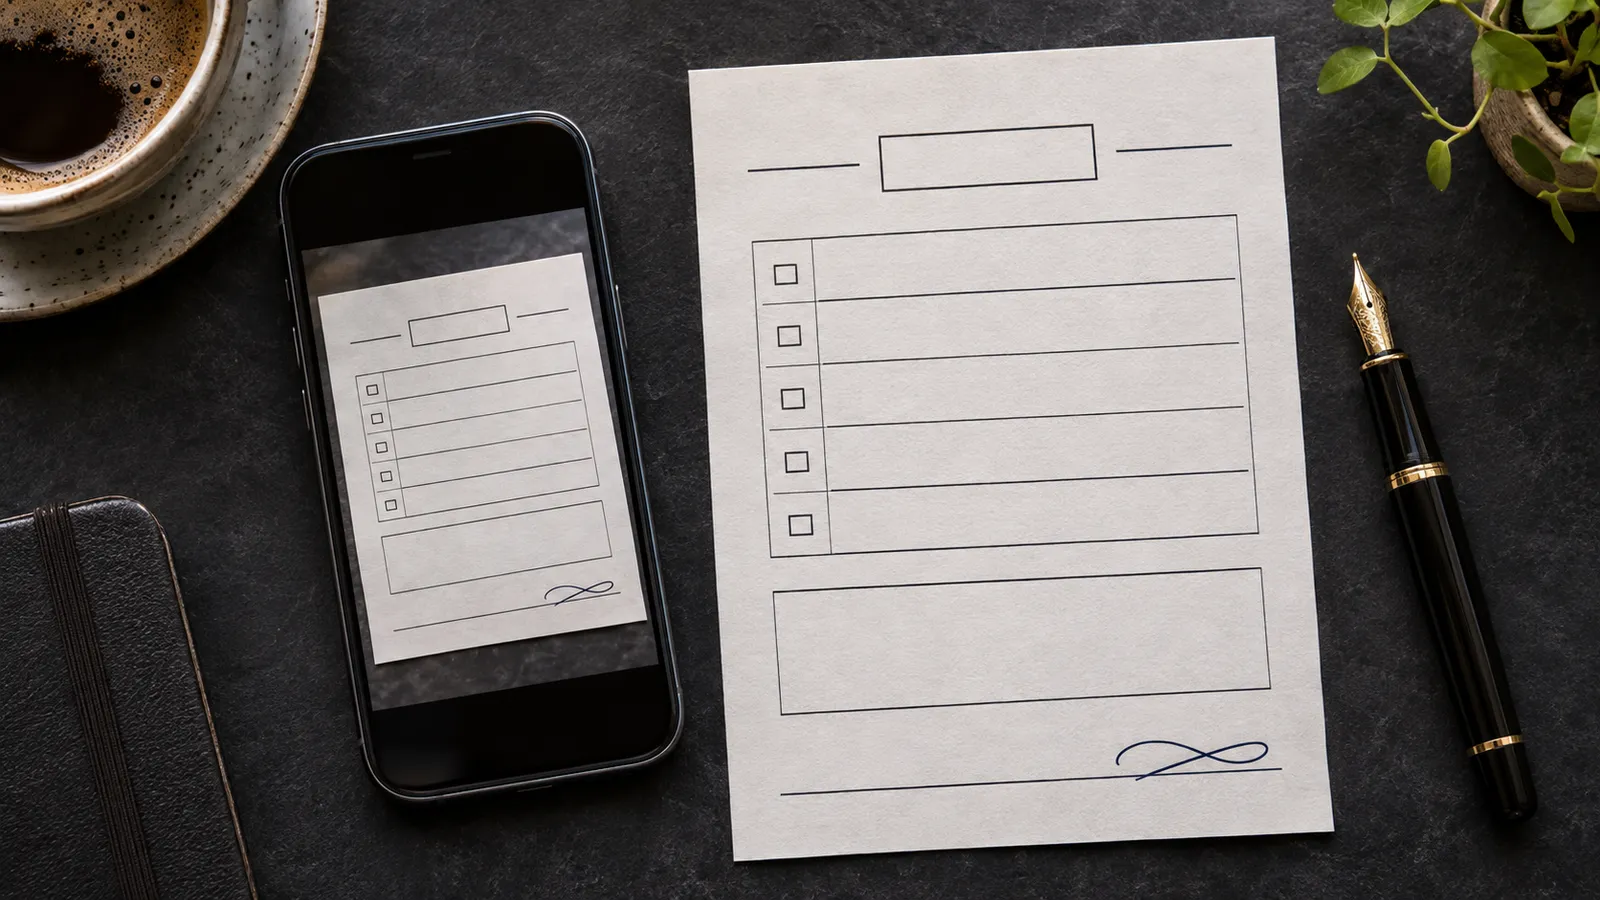
Start with the clearest photo
Save the original attachment to your PC. Open it and zoom in on the smallest type near the signature line. Check the page edges, orientation and any boxes you need to read. If glare hides a field or the bottom edge is missing, ask for a fresh photo. Enlarging the image during export cannot bring those details back.
Place your signature on the line
Draw or type your signature, import a prepared image, or select an existing signature from your local library. Drag it onto the correct line and resize it so the first and last strokes fit. Add a date separately if the form asks for one. Save a draft if the date or placement still needs approval.
Return a JPG or a PDF
For an image attachment, choose JPG and save a new copy such as consent-signed.jpg. Reopen it and check the thin strokes and small print. If the recipient asks for PDF, choose PDF in the export dialog and check the page size in the preview. The photographed text remains part of the image. Open the finished PDF once before attaching it.
Questions and answers
Can I sign the file on my PC without uploading it?
Yes. Paperkiss processes the photograph and signature locally. You choose how to send the exported copy.
Why does a white box appear around my signature?
The imported signature may contain a white background. Prepare a transparent PNG of the signature and place it over the form again.
Which file should I keep for changes?
Keep the original photograph and the editable draft. To correct the signed version, change the draft and export a fresh copy.