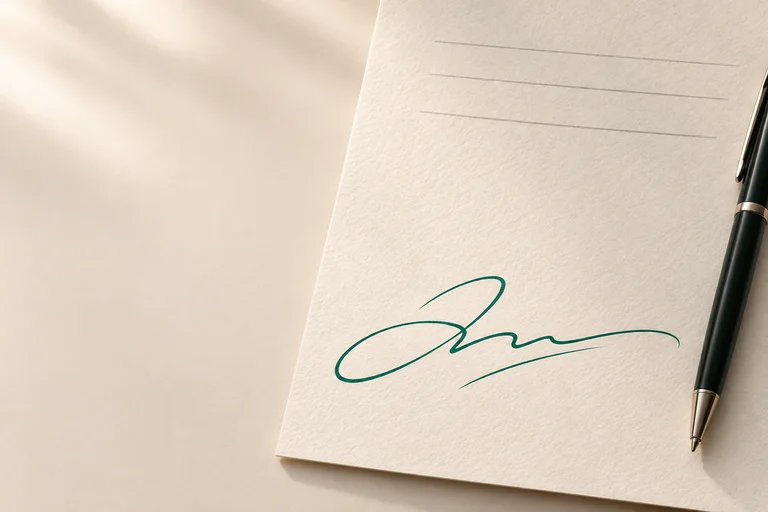
Start with a source that separates ink from paper
Photograph a signature you are entitled to use on plain, unruled paper. Keep the sheet flat, place the camera above it, and use soft light that does not cast your hand or phone across the writing. Tap to focus on the ink. Leave space around the outermost strokes so the crop can include the whole signature.
Compare the photograph with the paper before processing it. If a pale loop is already invisible, stronger cleanup cannot recover its true shape. Take another photograph rather than inventing the missing line. Keep this original file: it is the reference for deciding whether an adjustment improves presentation or changes the handwriting.
Crop and straighten before judging the mask
Include the complete signature and a small clear margin. Correct obvious rotation and perspective before checking the background. A stroke cut off by the crop can look like failed background removal, but changing sensitivity will not bring pixels outside the crop back.
Paperkiss is a Windows app in development. Its photo studio includes a four-corner crop, rotation, background sensitivity, and erase/restore brushes. These describe the implemented workflow, not a released download. Start with a neutral preview and change one setting at a time so you can identify which adjustment affects the faintest ink.
Use the faintest real stroke as your stopping point
Enable paper-background removal and adjust sensitivity in small steps. Watch a light connecting stroke, the dot of an initial, and the tapered end of the signature. Stop when the paper becomes unobtrusive without breaking those details. Do not choose a setting just because it produces the emptiest checkerboard.
Use the restore brush to bring back genuine ink that the mask removed. Use the erase brush on remaining paper flecks away from the handwriting. Choose a brush smaller than the nearby gap, especially inside loops. Undo a stroke that changes a letter boundary instead of compensating by making the entire signature thicker. Compare against the source after each local correction.
Inspect edges on more than a checkerboard
A checkerboard helps reveal empty areas, but it can hide a pale fringe. Switch between white, grey, and dark inspection backgrounds. On white, look for accidental holes in the ink. On dark, look for leftover paper or a bright border around the strokes. These are inspection backgrounds; choose the exported background separately.
Check both a close view and the size you will actually place on the document. A large preview can exaggerate harmless edge softness, while a tiny preview can conceal a missing dot. Avoid heavy smoothing or thickness changes as a shortcut: review them against the original and keep only changes that preserve the same marks.
Keep a reusable master and a transparent output
Save the prepared item in the local library with a recognizable name, such as “Personal signature — original ink”. Keep a separate colour variant if you need blue as well as black. A named master makes later adjustments easier than repeatedly cleaning a compressed copy of an exported signature.
Export PNG with a transparent background for reuse. Reopen the exported file and place it over a coloured area in your intended document workflow. Confirm that the paper is absent and the thin strokes remain. A file extension alone is not proof of transparency: PNG can also contain a fully opaque background. Keep the source photo and the prepared item until this check is complete.
Questions and answers
Should I remove every pale pixel?
No. Some pale edge pixels belong to the original ink or its soft boundary. Judge them against the source and on several backgrounds; removing them all can break fine handwriting.
Can background removal rebuild a missing letter?
It should not. If blur or glare removed the original detail, photograph the signature again. Paperkiss preparation is intended to preserve the photographed marks, not generate replacement handwriting.
Why use PNG for the prepared signature?
PNG supports transparency and lossless storage. Choose transparent export explicitly, then check the result in the receiving workflow. Keep PDF for the completed document.