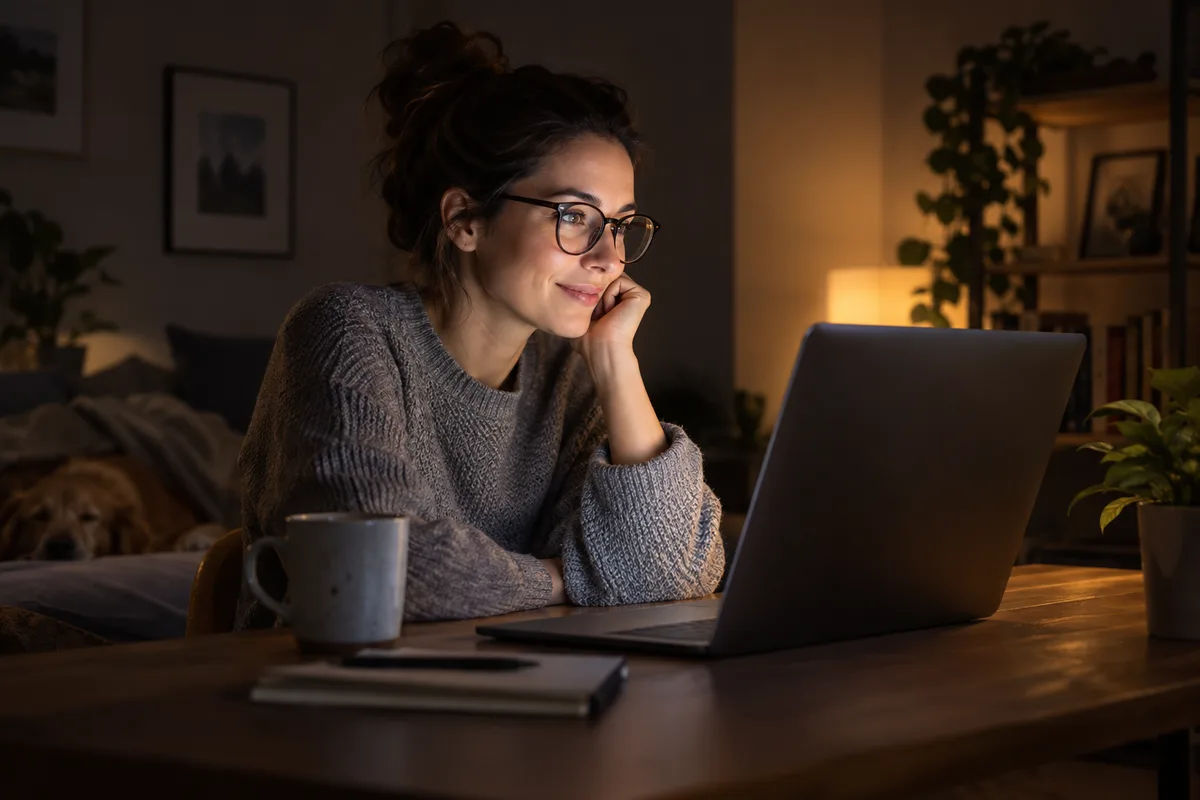
A bright, pale laptop screen can add light to your face during a dim video call. Try it in the camera preview, keeping your position fixed, and use it only if your face becomes clearer without uncomfortable brightness or distracting reflections.
It is a practical experiment for a hotel room or evening call. The screen’s size and brightness, your distance from it and the camera’s exposure all affect the result. There is no single brightness setting that works for every laptop.
Fix the room setup first
Start with light already available: face a window during the day or move a lamp so it illuminates your face. Avoid sitting with the brightest window directly behind you. Check the camera preview after moving, because the camera’s automatic exposure may change.
If that is enough, keep the simpler setup. Screen light is useful when your face still appears dim and moving the room’s light is inconvenient. The webcam lighting guide covers these room adjustments.
Try CallReady’s Screen Light
CallReady checks face lighting locally and offers Screen Light for a dark face. The feature opens a white light window on the display you are using. It provides light; it does not edit the video or install a camera filter.
- Run a CallReady check with the camera and seating position you plan to use.
- Open Screen Light and arrange your call window so some of the white window remains visible. A window hidden completely behind other content cannot illuminate your face.
- Adjust the display’s normal brightness control gradually. Stop at a comfortable level rather than pushing it to maximum.
- Close the diagnostic camera preview before opening the meeting app’s camera preview. Keep Screen Light visible.
- Compare the image with the light window visible and then covered. Check your face, glasses and background, not just the overall screen brightness.
Screen Light stays open when you close the CallReady check window; close the light window itself when you have finished. The feature is a white window, so this workflow does not rely on an app-specific colour picker or dimmer.
Use the preview to decide whether it helps
| What you see | What to try |
|---|---|
| Your face is clearer without discomfort | Keep the position and brightness for the call |
| Large reflections in glasses | Change the screen angle, move slightly or use a room light instead |
| The screen feels too bright | Reduce brightness or stop using the light window |
| Little visible difference | Move a room light or change your position; do not keep raising brightness blindly |
| The face becomes too bright or loses detail | Lower brightness and compare again after the camera settles |
Make one change at a time. Use the same camera and call app for the comparison, because another app’s processing can make the preview look different. Camera readiness and lighting are separate checks: a good-looking image does not establish that the microphone or connection is ready.
Check screen sharing before presenting
On a single display, leave enough visible light area without covering the controls you need. If you share the whole desktop, the light window may also appear in the shared view. Where the meeting app supports it, share the intended application window and verify the sharing preview.
Screen Light is a local display feature, not a streaming integration. It does not manage another app’s capture or sharing settings. Close it after the call and return the display to your usual brightness. For repeat calls, keep the setup that gave you a clear, comfortable preview and run the camera and microphone check before joining.
Frequently asked questions
Can a laptop screen replace a ring light?
Does CallReady have a screen-light colour or brightness slider?
Can I share my screen while using Screen Light?
Check your face lighting in CallReady, try Screen Light and confirm the result in the meeting app’s camera preview.
Get CallReady